


Our work
Work gallery
This gallery contains photographs from our work. New images are added regularly.
View all projectsAll photographs of painting work on this website belong to Ruslan Bilohash. © Ruslan Bilohash. All rights reserved.
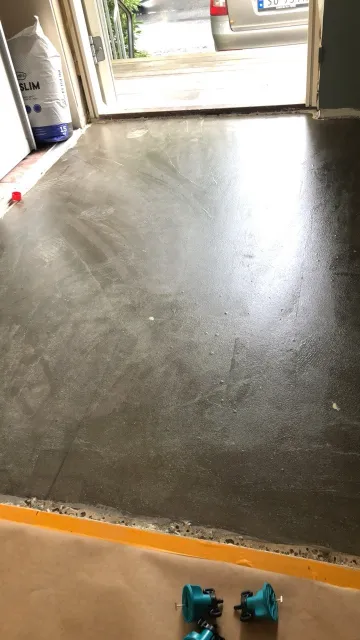
Floor after pouring self-levelling compound.
View the service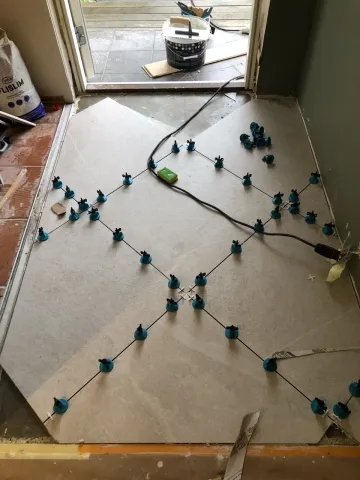
Large-format floor tiles with levelling caps.
View the service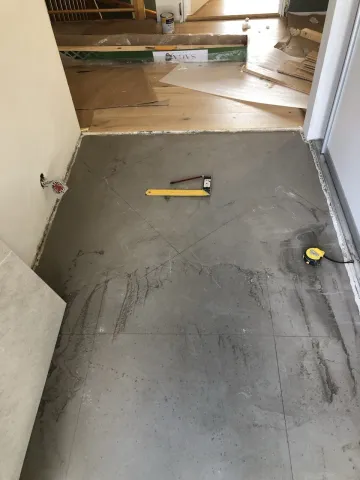
Prepared level substrate before floor tile installation.
View the service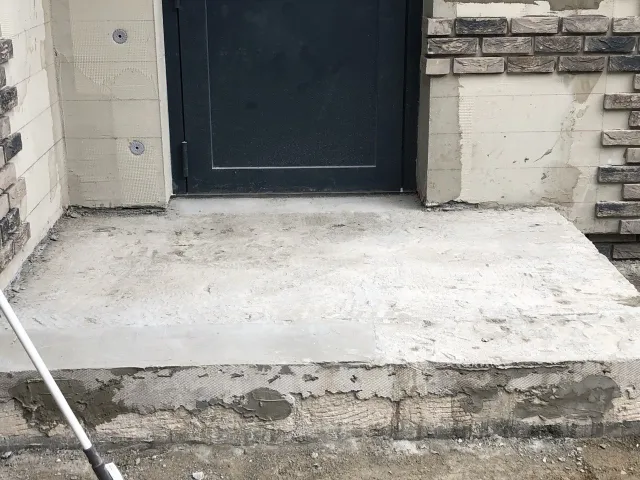
Prepared concrete terrace substrate at an entrance.
View the service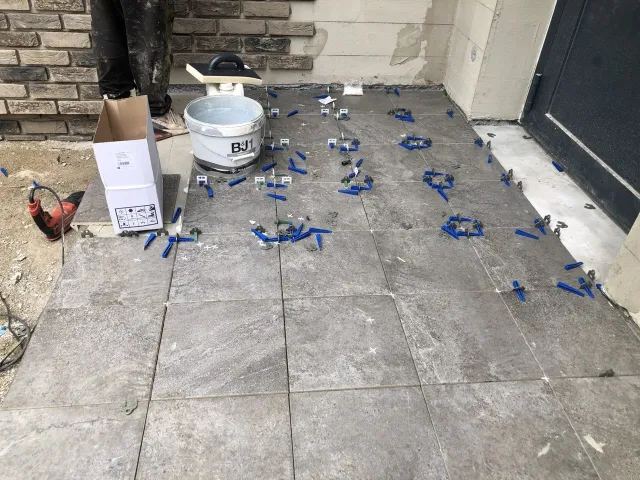
Grey terrace tiles being installed by the door.
View the service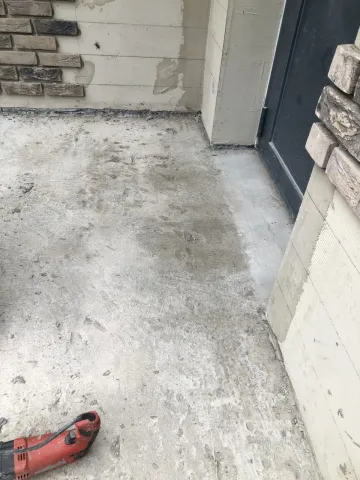
Cleaned terrace substrate before tile installation.
View the service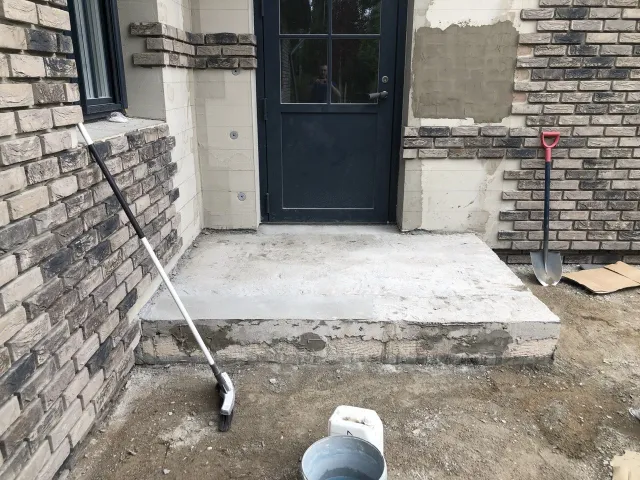
Entrance terrace prepared for tiling.
View the service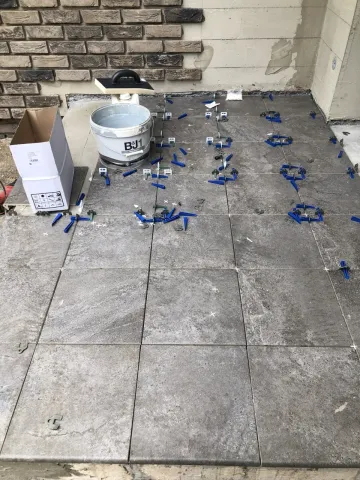
Grey terrace tiles during alignment.
View the service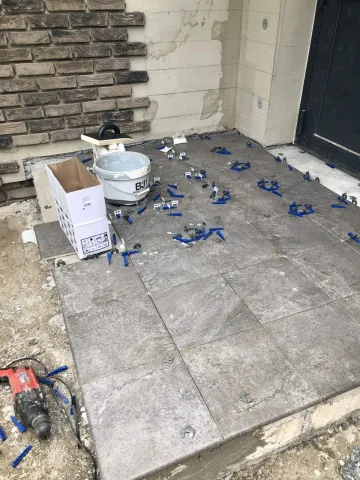
Overview of tile installation at the entrance.
View the service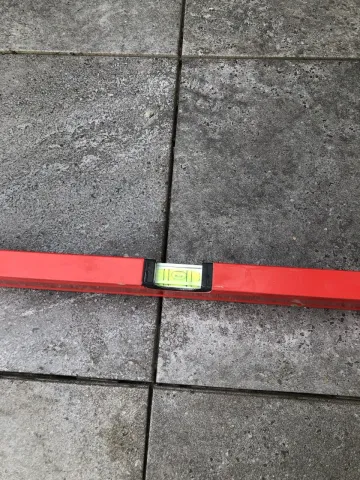
Checking the level between terrace tiles.
View the service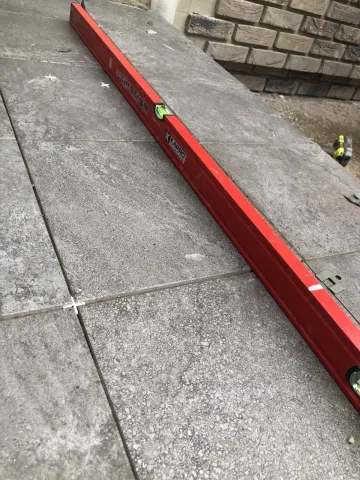
Checking the tile plane with a long level.
View the service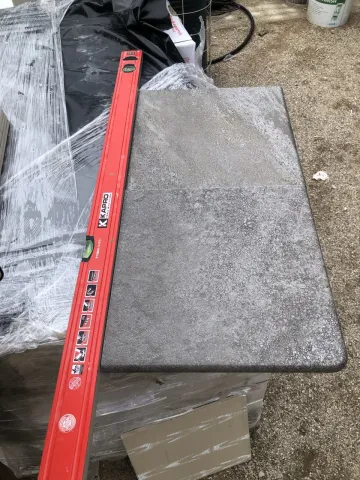
Checking the level of a tile edge.
View the service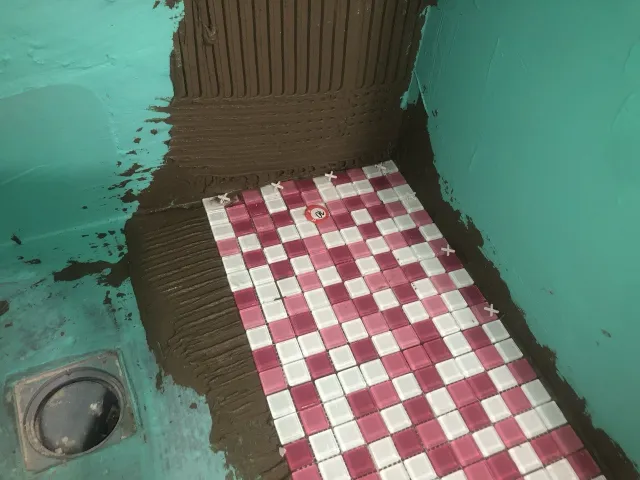
Installing small pink and white mosaic tiles.
View the service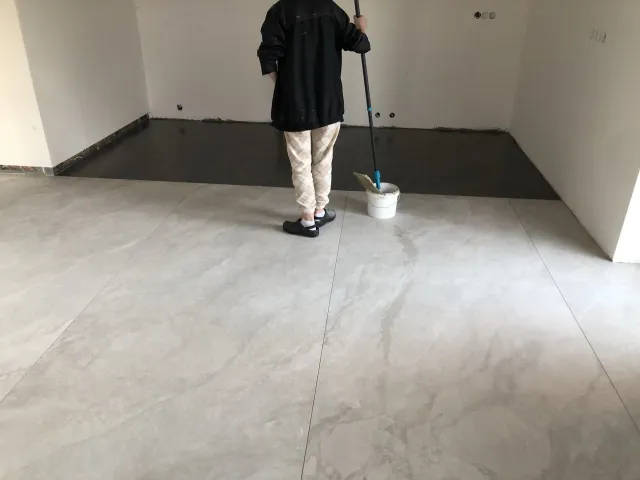
Installing light large-format tiles in an open room.
View the service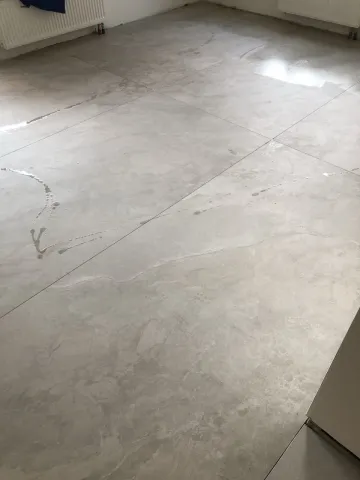
Light large-format tiles laid across a large floor area.
View the service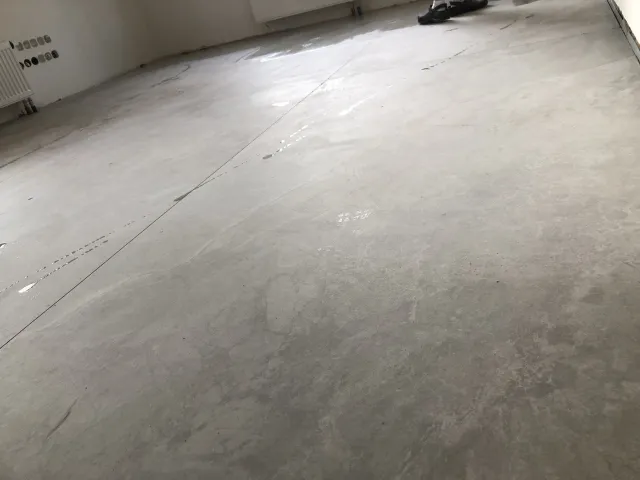
Checking even joints between large floor tiles.
View the service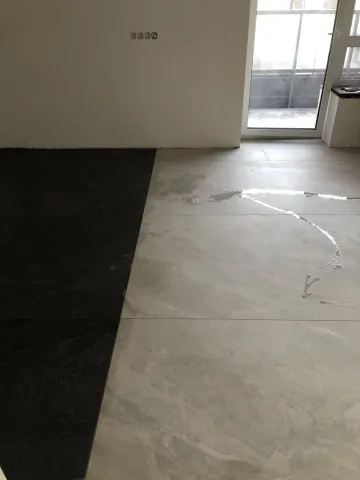
Transition between dark and light large-format tiles.
View the service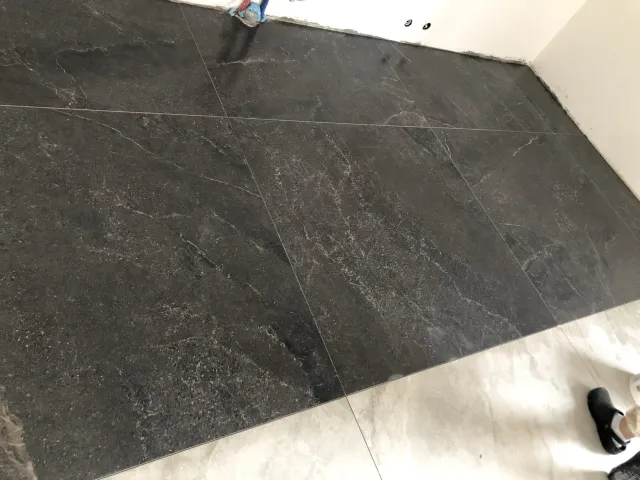
Dark large-format tiles installed with narrow joints.
View the service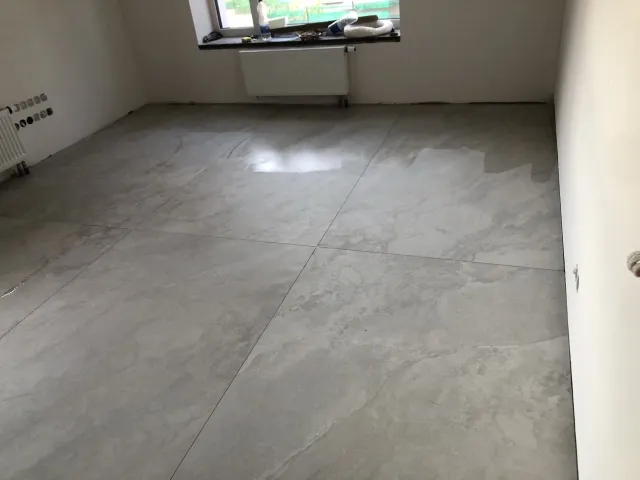
Large-format tiles installed in a bright room.
View the service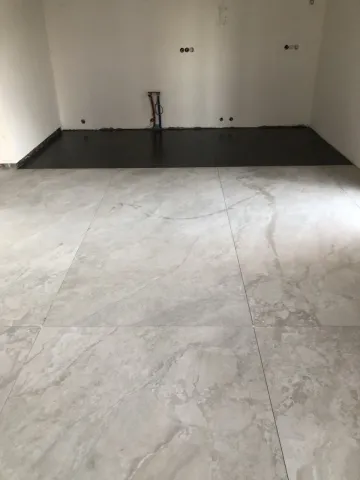
Light and dark large floor tiles in the same room.
View the service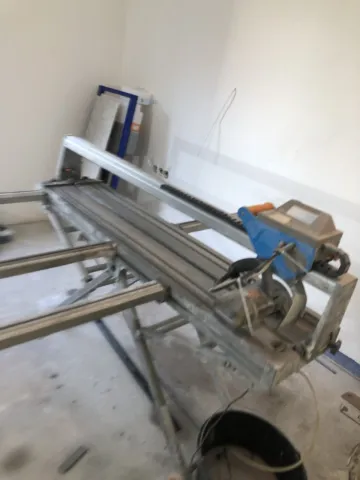
Tile cutter prepared for cutting large tiles.
View the service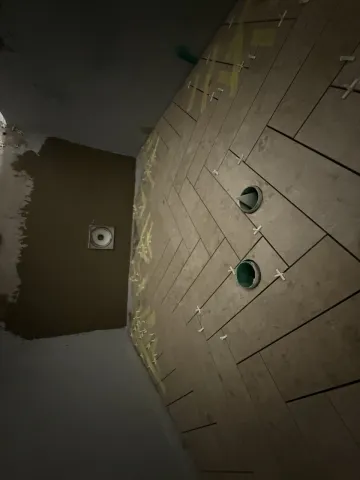
Starting a herringbone tile layout around pipes.
View the service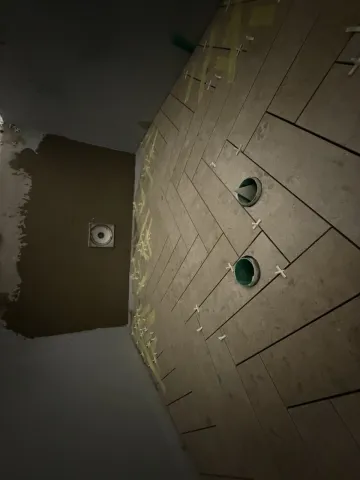
First herringbone tile rows set in adhesive.
View the service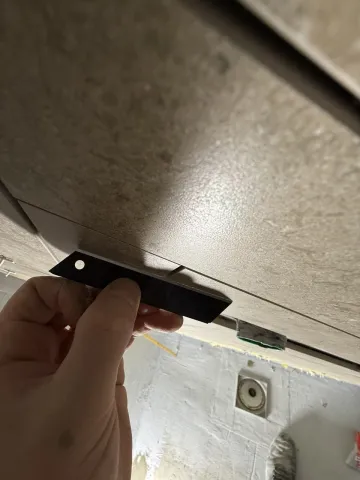
Checking the joint width between tiles.
View the service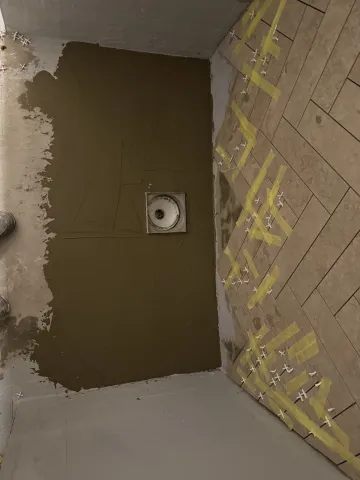
Adhesive bed and arranged tiles.
View the service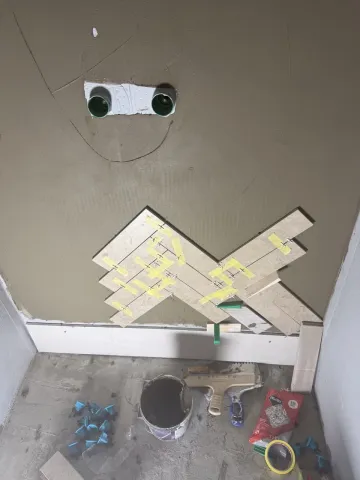
Initial dry layout around pipe openings.
View the service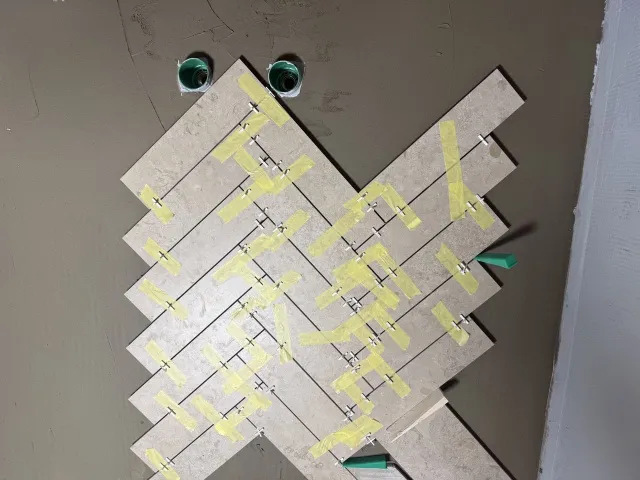
Tiles held with spacers and tape.
View the service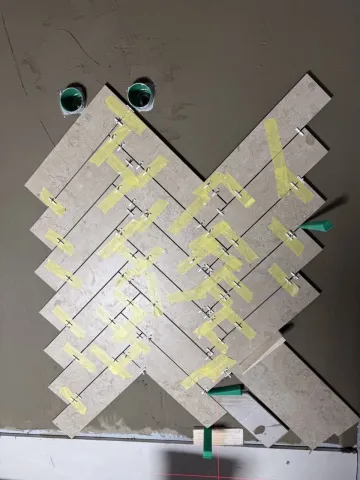
Extending the herringbone tile pattern.
View the service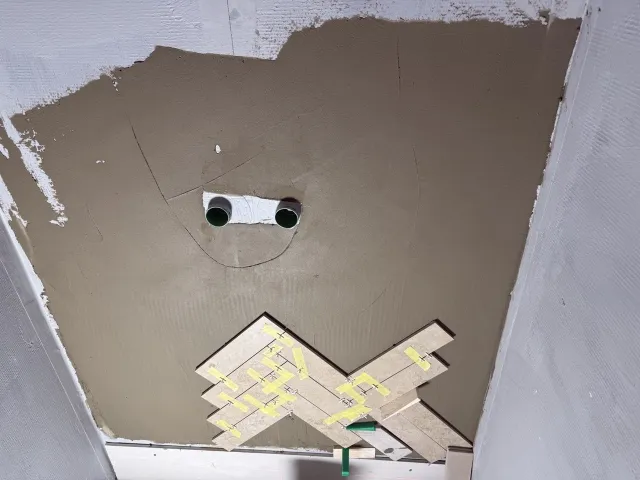
Prepared substrate around the tile layout.
View the service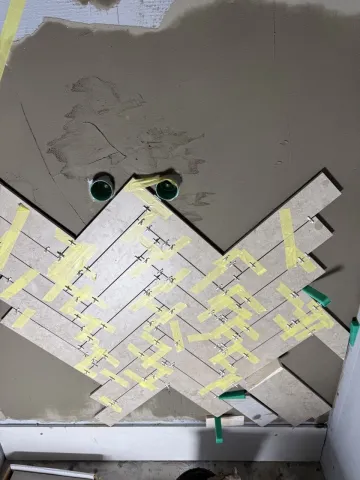
Herringbone tile installation in progress.
View the service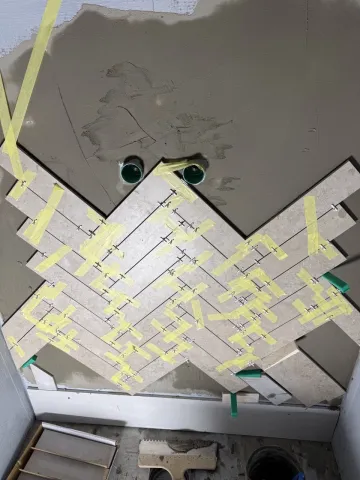
Wide herringbone layout in progress.
View the service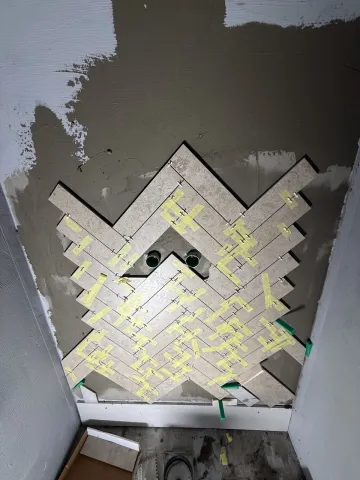
Large tile area with spacers.
View the service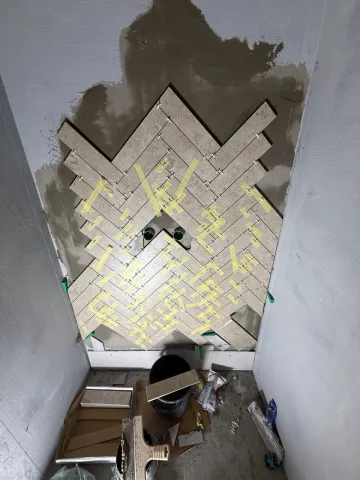
Overview of tile installation in the room.
View the service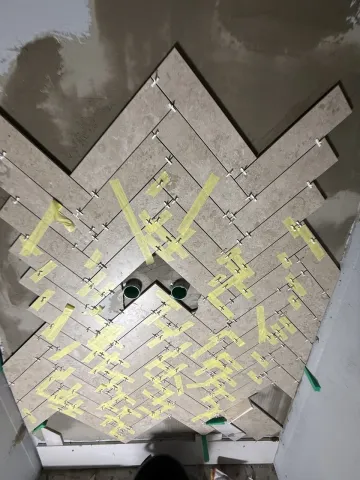
Tiles fitted around two pipe openings.
View the service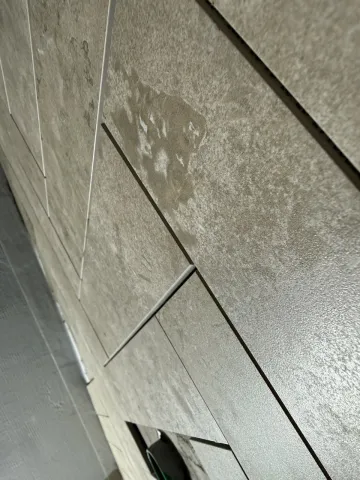
Close view of a tile joint.
View the service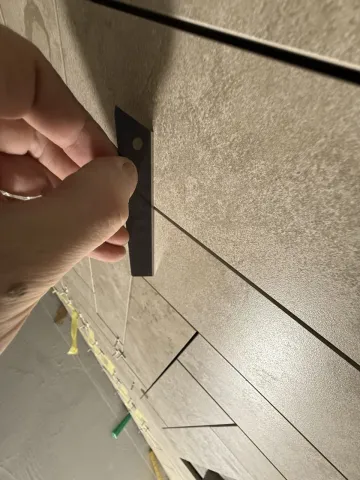
Checking a tile joint with a gauge.
View the service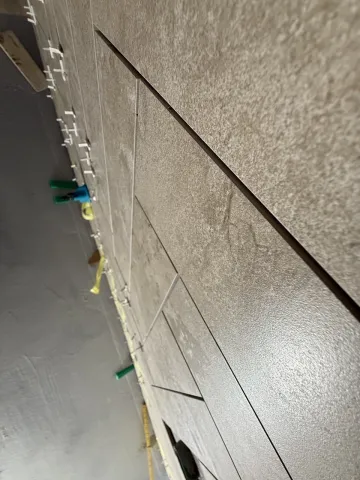
Aligned joints between rectangular tiles.
View the service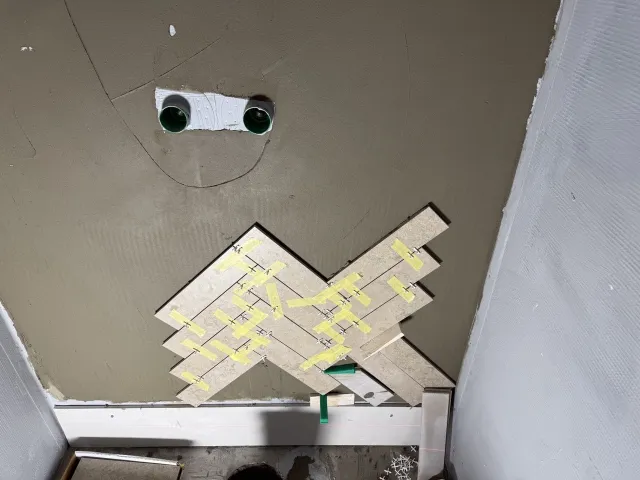
Starting the herringbone pattern at an edge.
View the service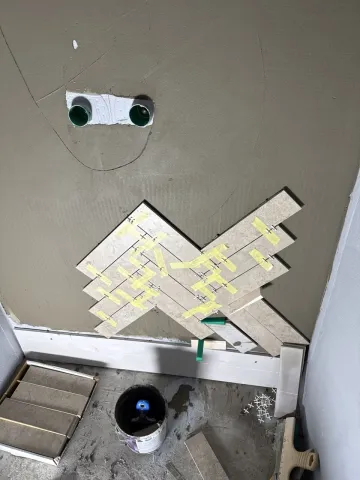
Tiles, adhesive and installation spacers.
View the service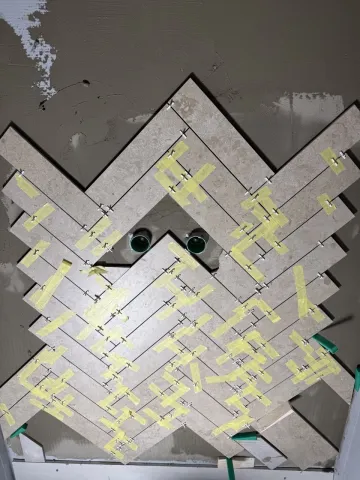
Setting tiles into prepared adhesive.
View the service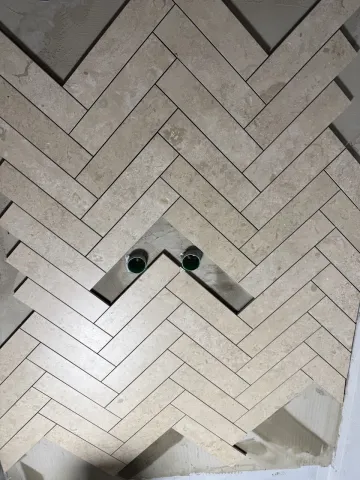
Herringbone field formed around pipes.
View the service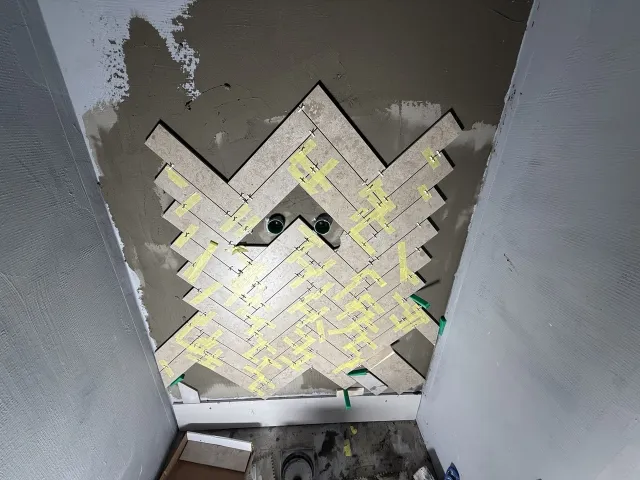
Extended herringbone tile pattern.
View the service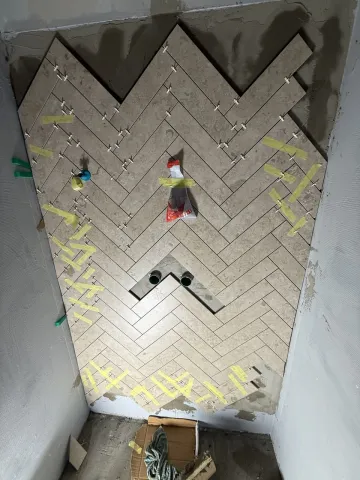
Tile installation in a narrow room.
View the service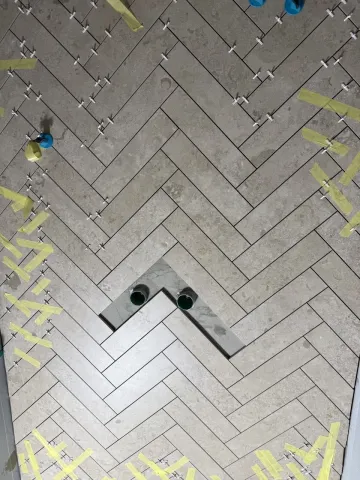
Central herringbone pattern detail.
View the service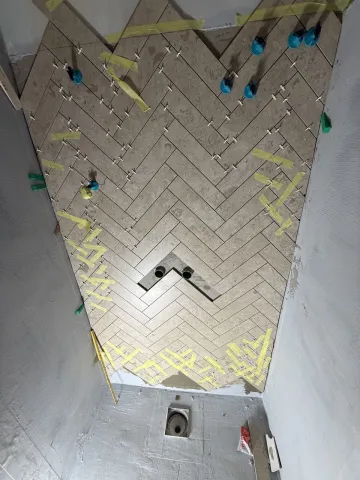
Tiles with spacers and levelling caps.
View the service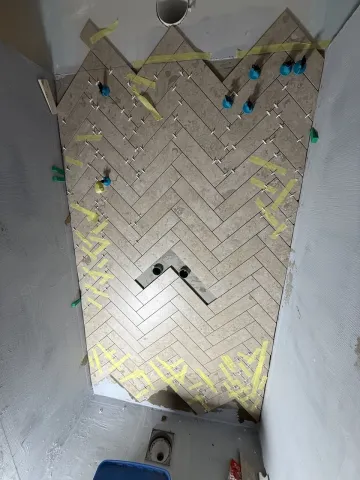
Long view of the tile pattern.
View the service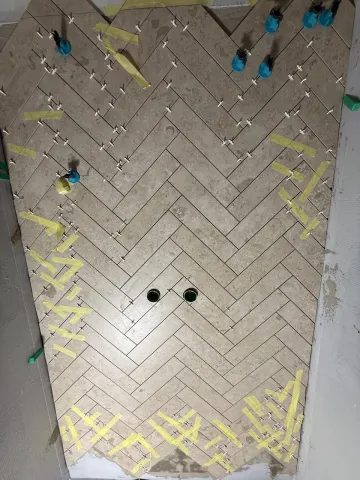
Aligned herringbone tile field.
View the service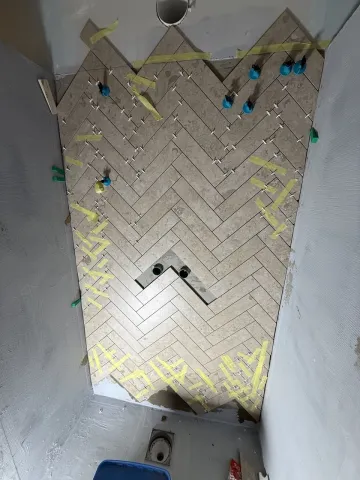
Tile area nearing full coverage.
View the service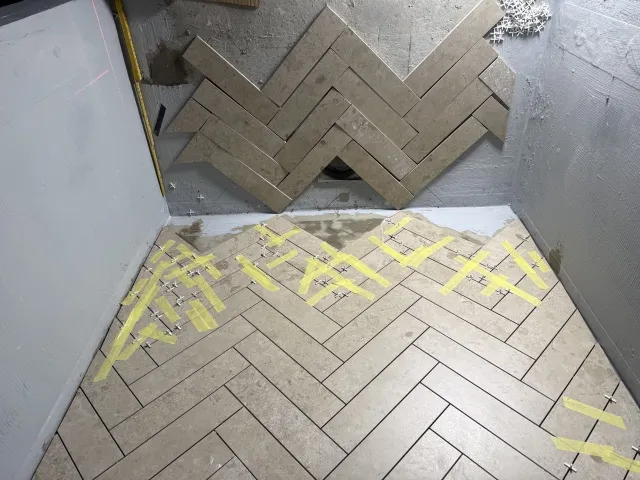
Transition between set tiles and dry layout.
View the service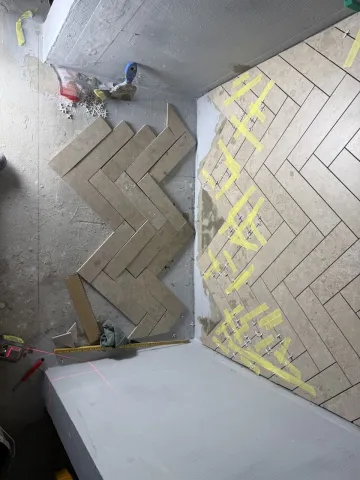
Laser lines used for tile alignment.
View the service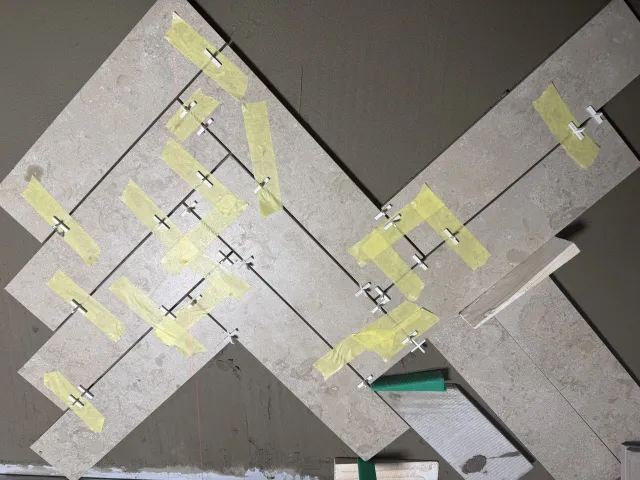
Dry tile layout near a corner.
View the service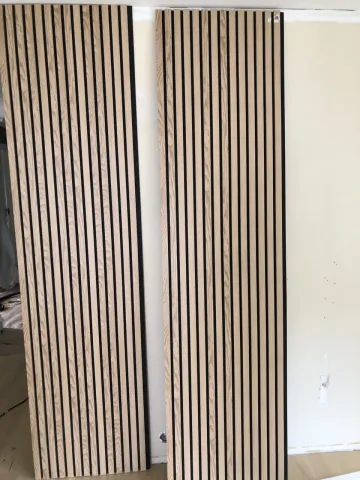
Slatted wall panels positioned before installation.
View the service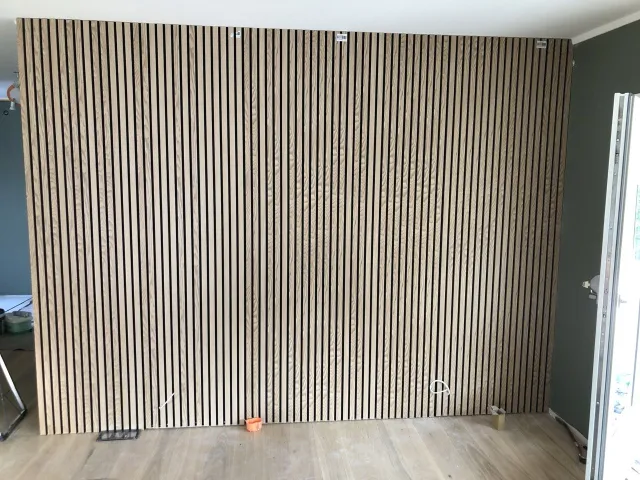
Wall after installation of decorative slatted panels.
View the service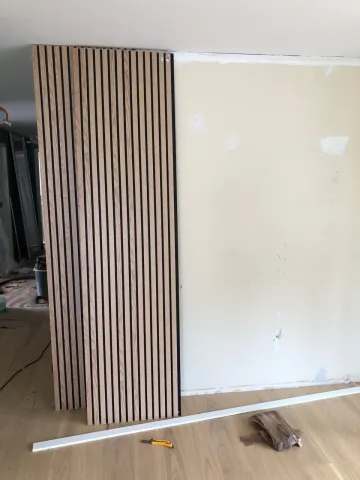
Installing the first section of slatted wall panels.
View the service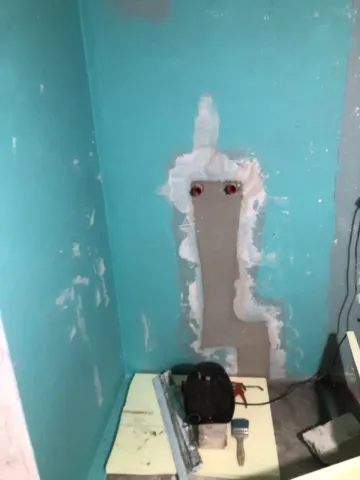
Waterproofing applied to wet-area walls.
View the serviceStarting mosaic tile installation on a waterproofed substrate.
View the service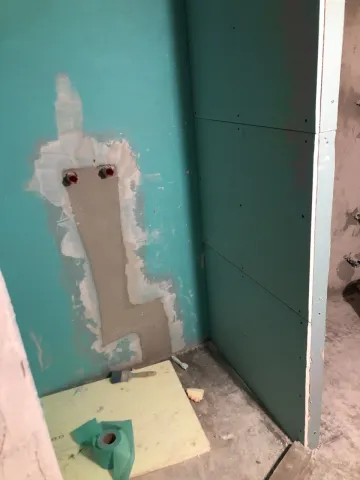
Preparing walls and pipe penetrations in a wet area.
View the service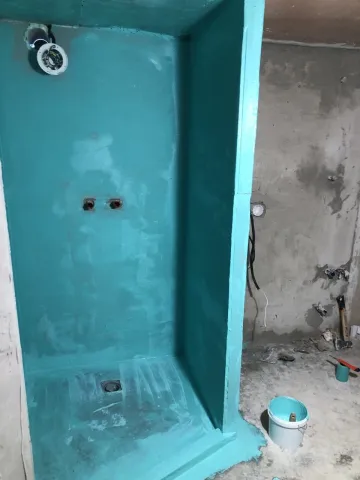
Waterproofing on walls, floor and drain in a shower area.
View the service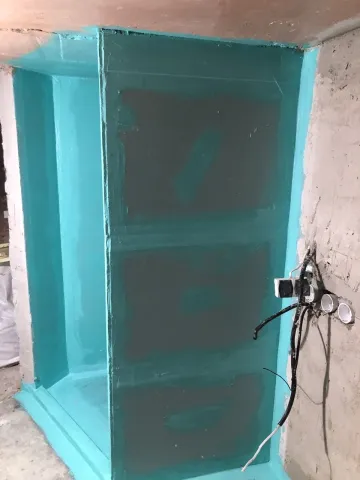
Continuous waterproofing layer on wall and upstands.
View the service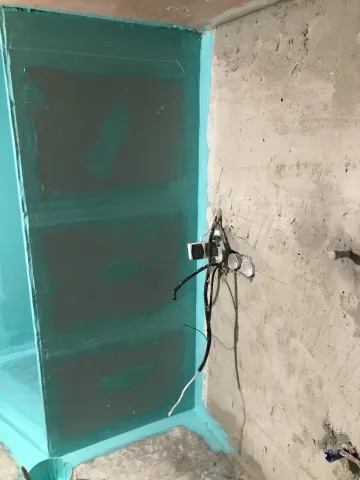
Waterproofed wall beside a prepared substrate.
View the service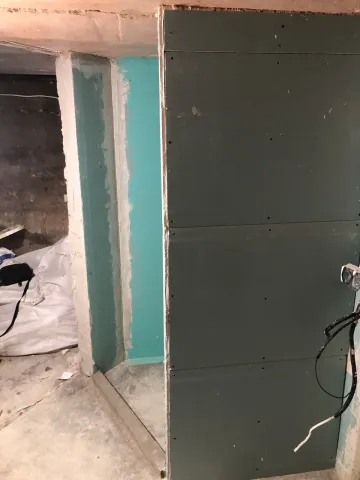
Prepared partition and waterproofing in a wet area.
View the service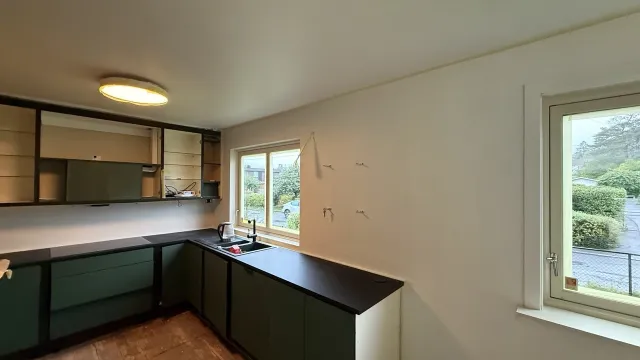
Light walls connect the units and windows.
View the project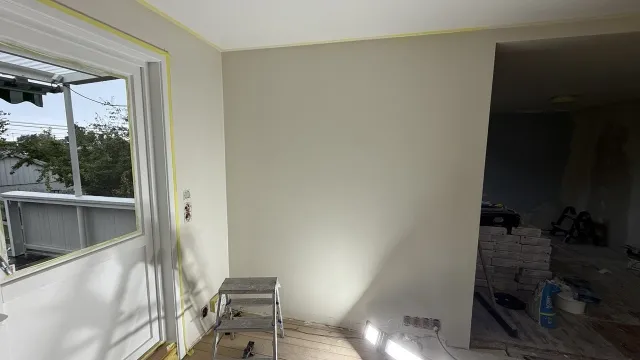
Sunlight from the window and work lighting fall across the freshly painted wall.
View the project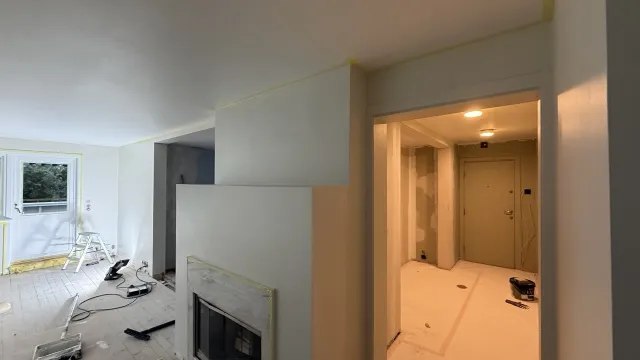
Connected surfaces are treated in the right sequence.
View the project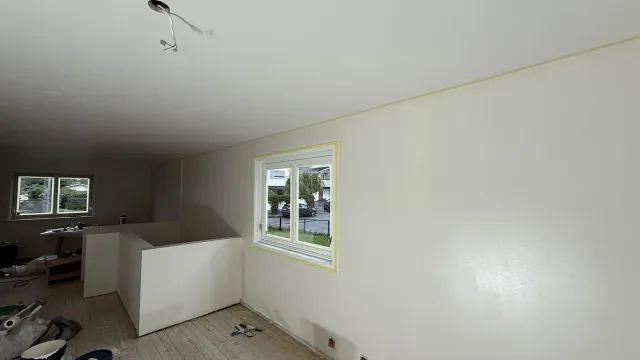
The window is protected while the wall is painted.
View the project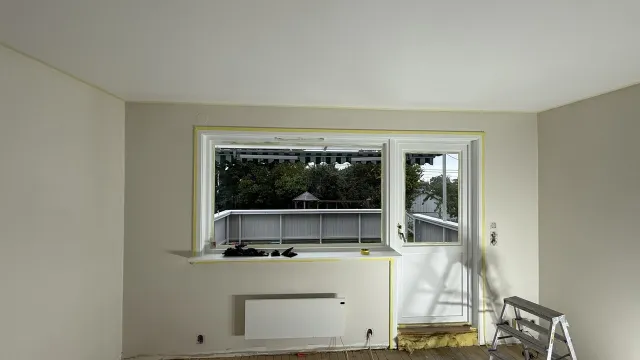
Glass, walls and flooring are protected before painting.
View the project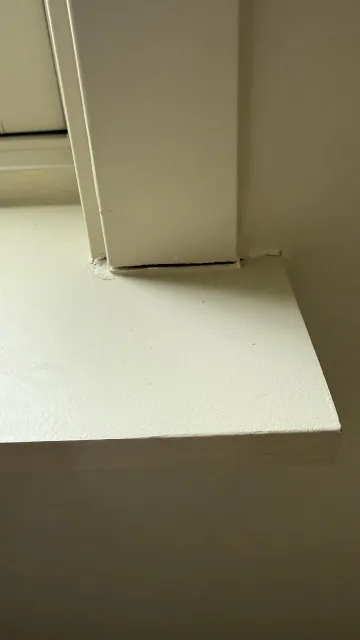
Close inspection determines how the joint is repaired.
View the project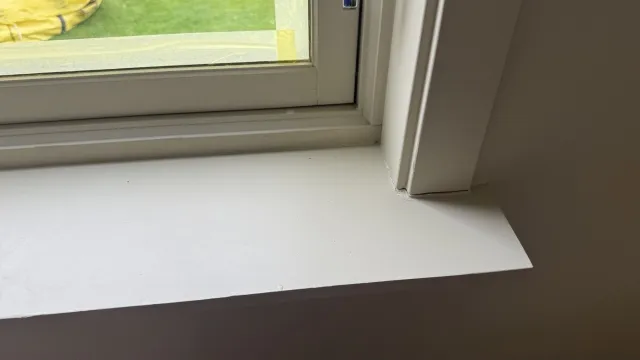
The transition is repaired before further finishing.
View the project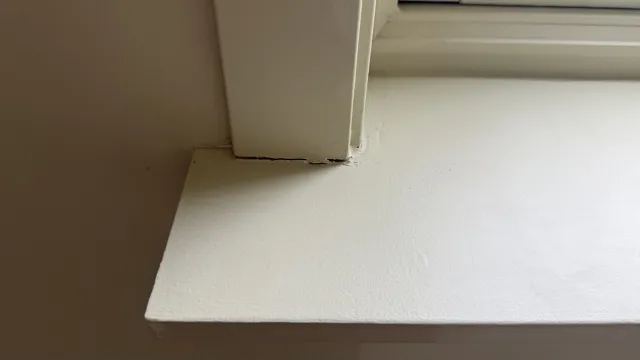
Edges and corners are checked between work stages.
View the project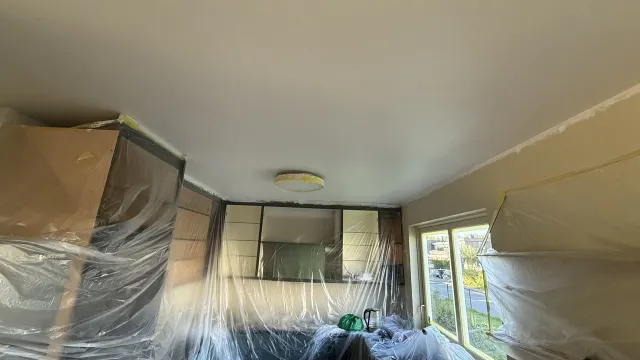
Units and floors are covered so the full ceiling can be treated safely.
View the project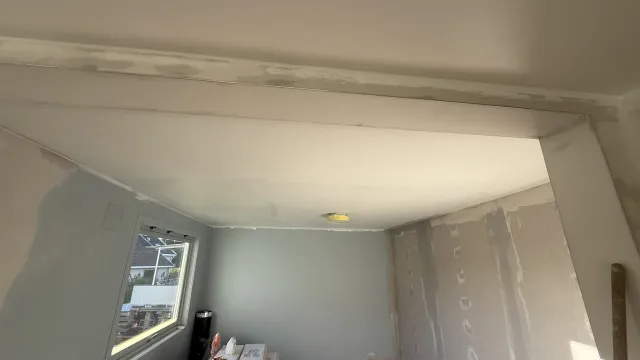
Joints and transitions are assessed before the next coats are applied.
View the project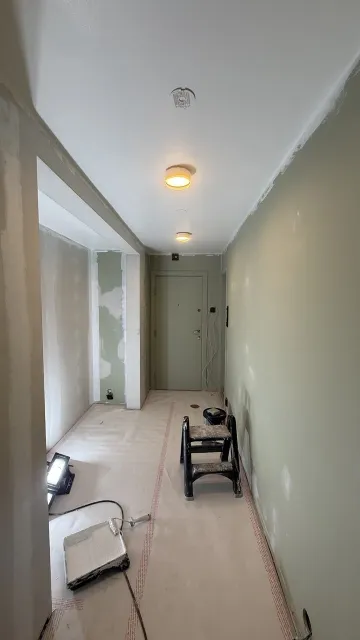
The floor remains protected throughout work in the narrow hallway.
View the project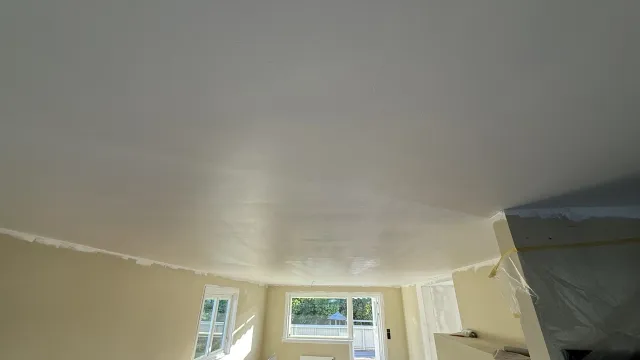
Side light makes it easier to inspect coverage and surface texture.
View the project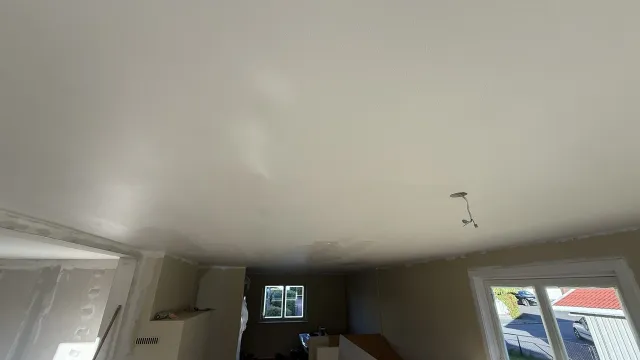
Large continuous surfaces are painted in a planned sequence for even coverage.
View the project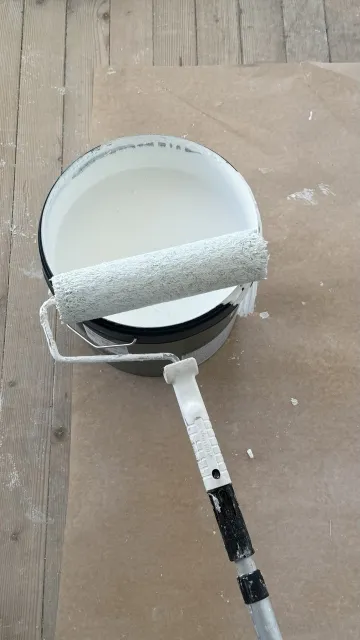
The right roller and a steady working rhythm support a consistent finish.
View the projectWould you like us to call you?
Leave your name and phone number and we will get in touch to discuss your project.
Which room
is next?
Tell us what you would like to change. We can help you work out the next step.